
 English
 中文简体
中文简体 عربى
عربى Español
Introduction to LED Ceiling Lights LED ceiling lights have become a popular choice for modern homes,...
Content
Preparing vegetables on a kitchen counter is a different experience when the light under the upper cabinets actually lands on the cutting board instead of behind your head. That is the difference between a well-planned LED under-cabinet install and one that has to be redone. Installing under cabinet LED lighting does not have to be a complicated project, but the results are decided long before you pick up a drill. The right fixture, the right color temperature, and a tidy wiring path are what separate a functional work light from a frustrating install that has to be redone. This guide covers the decisions that matter, the installation sequence, and the mistakes that are easiest to avoid.
- Measure the counter length before ordering.
- Pick a color temperature that suits your kitchen.
- Choose a dimmable driver if you want a dimmer.
- Plan the cable run and power supply location.
- Select fixtures with IP rating for wet areas.
What to Decide Before You Buy
Before ordering anything, set your brightness target. For a countertop work surface, a good starting point is about 200 to 300 lumens for every 30 centimeters of counter length. That means a 1.5-meter counter needs roughly 1,000 to 1,500 lumens. If you only use the light for ambience, you can reduce that by half, but do not expect it to be a proper task light.
Color temperature is next. Most kitchen counters look best at 3000K to 4000K. Warm white at 3000K creates a cozy feel, while neutral white at 4000K makes chopping vegetables easier to see. If you are not sure, a 3CCT fixture lets you switch between 3000K, 4000K, and 5000K by a simple slider or dip switch. This flexibility is worth paying a small premium for.
Then decide how you want to control the light. A simple wall switch is the baseline. A dimmer lets you adjust brightness for different times of day, but you must use a dimmable LED driver and a dimmer that is compatible with LED loads. Motion or proximity sensors are useful for areas near the floor, but for cabinet lighting under a counter, a dimmer is usually more convenient. Also, check whether the fixture can be mounted flush, surface, or recessed, and whether the driver fits in the space you have planned.
There are three common mounting styles. Surface-mount bars screw or stick to the underside of the cabinet and are the easiest to retrofit. Recessed fixtures require a cutout, so you need enough depth behind the panel. Track-style lights offer directional aim but take up more vertical space. For most kitchens, a surface bar is the fastest route to good task lighting.
For a flexible strip-like solution that can adjust to your preferred color temperature, a 3CCT LED batten light is worth a look.
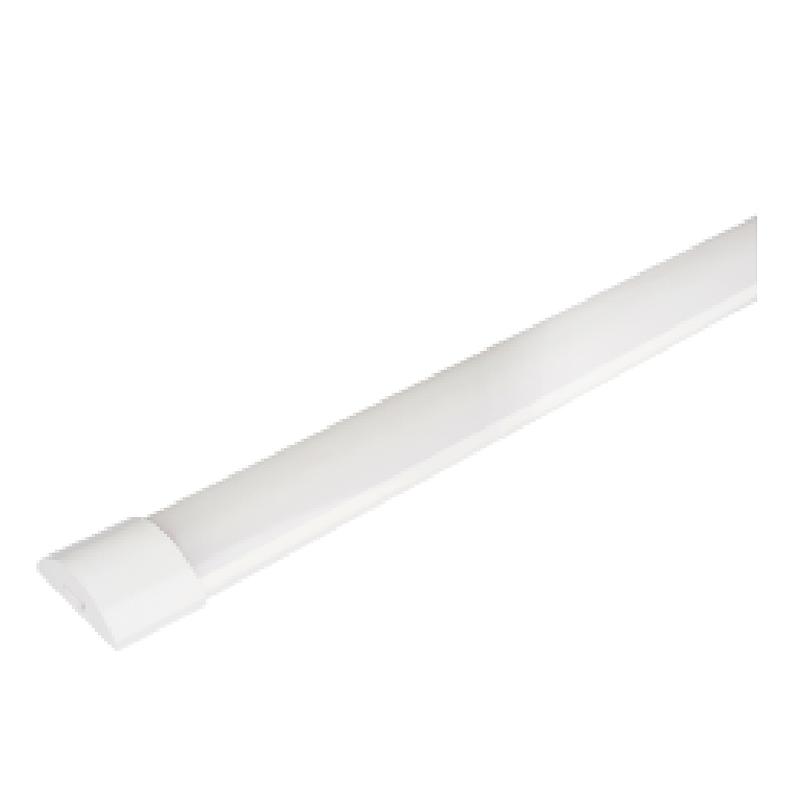 3CCT LED Batten Light for Under-Cabinet with Adjustable Color TemperatureThis LED batten light offers three color temperature options (3000K, 4000K, or 6500K) to match your preferred lighting mood. Ideal for under-cabinet use, it provides flexible strip-like illumination that can be tailored to your kitchen tasks.View Product →
Step-by-Step Installation Process
Tools You Will Need
- Tape measure and pencil
- Stud finder and voltage detector
- Drill with a hole saw, if using recessed fixtures
- Screwdrivers and wire strippers
- Voltage tester
- Heat shrink or wire nuts
Measure and Plan
Start by measuring the underside of your cabinets and marking where you want the light run to begin and end. Include a clear path for the wires. If you plan to hide cables inside the wall, check what is behind the drywall before drilling. A stud finder and a voltage detector are worth a few minutes of your time to avoid cutting a water line or a live cable.
Position and Mount
For surface-mounted bars, use the supplied clips or screws and keep the fixture a few centimeters away from the front edge of the cabinet so the light can spread over the whole counter. For recessed fixtures, the cutout diameter is the dimension that matters most. A 3W mini downlight is a compact choice for tight under-cabinet spaces if you have enough depth behind the panel. Measure the opening twice, then cut the hole.
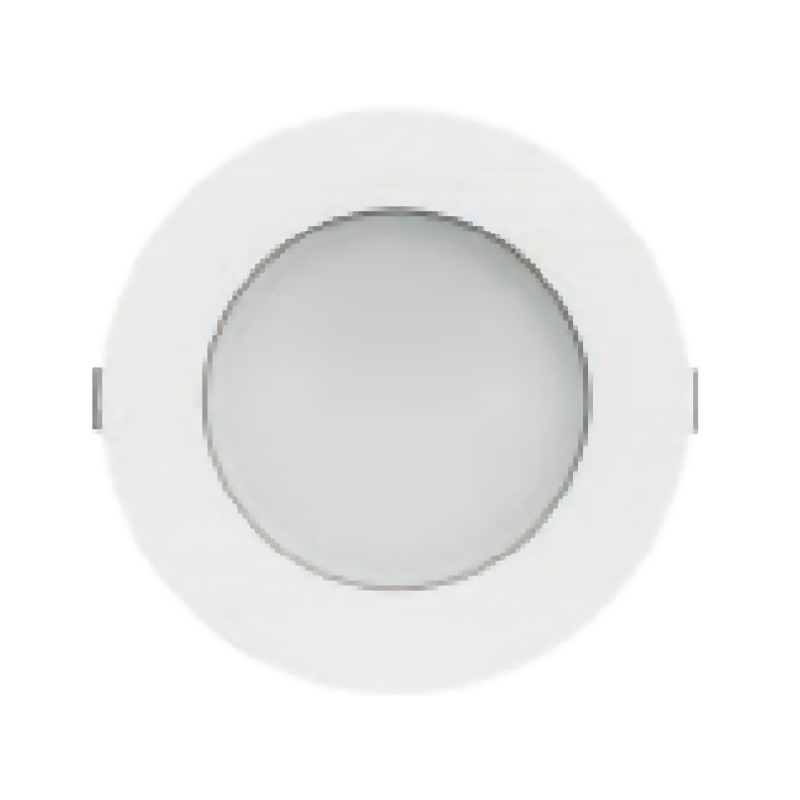 3W Mini LED Downlight with Tunable CCT for Tight Under-Cabinet SpacesThis compact 3W downlight features a tunable color temperature (3000K/4000K/5000K) and a wide 120° beam, making it a versatile choice for recessed installation in tight under-cabinet areas where space is limited.View Product →
Run the Wiring
Use low-voltage cable for 12V or 24V systems and keep the run as short as possible. When the power supply has to be placed far from the first fixture, choose a thicker cable to avoid voltage drop. For mains-powered systems, follow local electrical codes and consider whether you need a licensed electrician. Most LED under-cabinet kits run on low voltage, which makes them safer to handle.
Connect Power and Control
Connect the driver to the AC supply, then attach the LED wiring with the correct polarity. If you are using a dimmer, test the full range from low to high before final sealing. The driver needs a little breathing room to dissipate heat, so do not bury it inside a tightly closed cabinet without ventilation.
Common Mistakes That Ruin an Otherwise Good Install
- Voltage drop: long runs on thin 12V wire make the far end dimmer than the near end. Keep runs short or use a higher voltage system.
- Overloaded driver: add up the wattage of every fixture and leave at least 20% margin. A 36W driver should not run a string of 40W fixtures.
- Ignoring shadow: a fixture tucked too far back under the cabinet casts a shadow from the front edge. Position the light so the beam reaches the counter.
- Missing moisture protection: kitchens produce steam that can penetrate non-rated housings. Near a sink or a dishwasher, choose sealed fixtures.
If you run more than 5 meters of 12V cable, think in terms of acceptable voltage drop. For a 2A load, a 1.5 mm² copper cable will lose about 2% over 5 meters. When that drops below 10.8V at the fixture, the light output will be noticeably weaker. Going to 24V halves the current for the same wattage, which reduces voltage drop by half as well.
Kitchens are one of the few places where cabinet lighting may see frequent steam and splash. If you are installing lighting near a sink, choose an IP65 rated fixture. The IP65 3CCT downlight can handle moisture better than cheaper open fixtures.
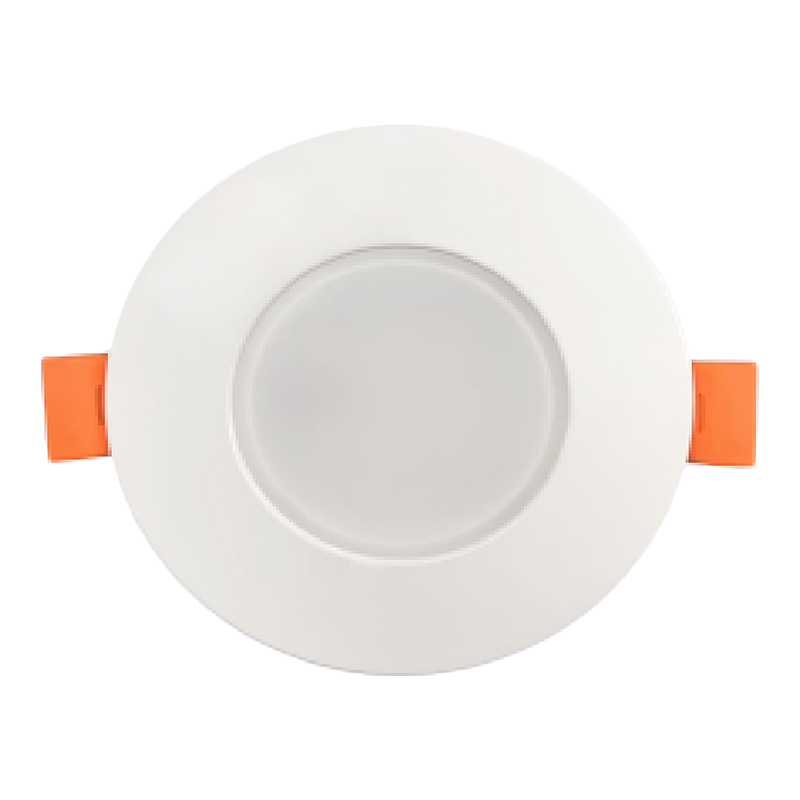 IP65 Rated 3CCT LED Downlight for Moisture-Prone Kitchen AreasWith IP65 water resistance, this 5W or 7W downlight is designed for areas exposed to steam and splashes, such as near sinks. It offers selectable CCT (3000K/4000K/5000K) and a wide 110° beam for even counter illumination.View Product →
Light Quality and Purchasing Considerations
Beyond brightness and color temperature, look at how the fixture renders colors. A color rendering index of 80 or above is the minimum for a kitchen task light; 90+ makes food colors look truer. Also check the beam angle. A narrow beam creates a bright spot, while a wider angle covers more of the counter evenly. For under-cabinet bars, a diffuser is helpful to prevent visible LED dots on reflective surfaces.
Heat management matters for LED life. Aluminum bodies conduct heat far better than plastic-only fixtures. The best budget-friendly products often use a plastic-aluminum hybrid, where the plastic shell provides insulation and a metal heat sink handles dissipation. This construction is common in well-designed LED batten lights and downlights.
Finally, think about the driver and the connector. If you cannot easily replace the driver later, choose a fixture with a separate driver behind a removable panel. Snap connectors make future maintenance simpler than soldering.
With good components, an under-cabinet LED system can easily run 30,000 hours or more. The fixture itself rarely fails first; it is the driver, the wiring, or a loose connection that usually causes problems. Choose products with replaceable drivers and clean wiring options so you are not tearing out the whole system to fix one part.
Installing under cabinet LED lighting is not hard if you make the right choices early. If you are unsure about fixture selection, driver compatibility, or mounting details, ask a manufacturer who can supply the technical support you need. The right partner can make the difference between a smooth install and a frustrating one.
For more on selecting and installing LED downlights for general use, this guide on choosing and installing LED downlights covers additional details. If you have a project in mind, feel free to contact our team for specifications and sample support.
