
 English
 中文简体
 عربى
 Español

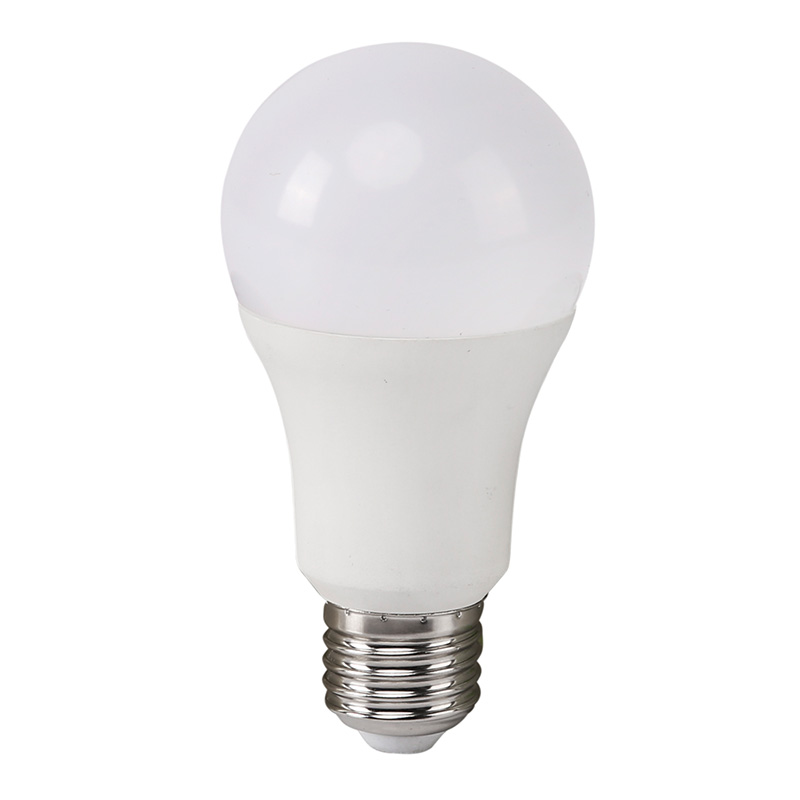
Introduction to LED Ceiling Lights LED ceiling lights have become a popular choice for modern homes,...
Content
- 1 Why Recessed Lighting Fits Bathrooms So Well
- 2 The Four Parts of a Recessed Bathroom Fixture
- 3 Wet-Rated, Damp-Rated and What IP Numbers Actually Mean
- 4 Planning the Layout, Step by Step
- 5 Layering Light: Ambient, Task and Accent
- 6 Color Temperature, CRI and Beam Angle
- 7 How Many Watts, How Many Fixtures
- 8 A Fixture Checklist for Damp Rooms
- 9 Notes for Trade Buyers and Specifiers
- 10 Questions We Get Asked Most
Recessed lighting is the quiet workhorse of a modern bathroom. Nothing hangs from the ceiling, nothing catches your shoulder when you lean over the basin, and nothing collects dust on top of a shade. The light simply arrives from above, in the places you decided it should arrive.
That last part is the catch. Recessed fixtures are chosen and positioned before the ceiling is closed up, so the decisions made on the plan are the ones you live with for years. This guide walks through the parts, the ratings, the layout maths and the specification details we deal with every week as an LED lighting manufacturer working with bathroom projects across Europe, the Americas and Asia-Pacific.
IP44 Typical minimum for a bathroom ceiling
3000 K Warm white that flatters skin tones
1.2 m Common spacing between general fixtures
Why Recessed Lighting Fits Bathrooms So Well
Bathrooms are small, wet and vertically compressed. A pendant or a semi-flush fitting competes for the same space your head occupies, and in a room where the ceiling is often 2.4 metres or lower, that competition is felt every single morning.
Recessed downlights solve the geometry problem first. Everything sits inside the ceiling plane, so the room keeps its full height and the eye reads one clean surface. In tiled bathrooms this matters even more: a flush trim ring sits neatly inside the tile grid, and you can align fixtures with grout lines or with the mirror instead of working around a fixture body.
Then there is the zoning problem. A bathroom rarely wants one uniform wash of light. It wants a bright, even pool over the vanity, softer light across the general floor area, and enough light inside the shower or above the bath to see what you are doing. Recessed fixtures let you distribute light by position, with narrower or wider beams, rather than forcing one fitting to do everything.
Finally, there is the maintenance argument. A sealed LED downlight with a gasketed trim has no open top surface, no fabric shade to fade, and nothing that needs to be taken down and washed. In humid rooms that reduces the two things that shorten fixture life most: dust settling on optical surfaces and moisture reaching the electronics.
Where recessed lighting earns its place
- Low ceilings, where a hanging fixture would feel intrusive
- Compact rooms, where wall space is already claimed by mirrors and storage
- Wet zones, where sealed IP-rated housings handle steam and spray
- Tiled ceilings, where flush trims sit cleanly in the tile grid
- Layered schemes, where ambient, task and accent light come from different fixtures
- Long-term upkeep, since sealed LEDs need almost no cleaning
The Four Parts of a Recessed Bathroom Fixture
When people say "recessed light", they usually mean the visible ring on the ceiling. In practice a recessed fixture is four separate decisions, and each one has a bathroom-specific consequence.
The housing
The housing, or can, is the body that sits above the ceiling plane. New-construction housings go in before the ceiling is closed; remodel housings are pushed through an existing cutout and clamped from below. For bathrooms, two properties matter more than the rest: whether the housing is rated for contact with insulation, and whether it is airtight. An airtight housing keeps warm, moist air out of the ceiling cavity, which protects both the fixture and the structure above it.
The trim
The trim is what you actually see: baffle, reflector, pinhole or adjustable eyeball. Baffle trims cut glare by absorbing stray light, which is useful directly above a vanity mirror. Reflector trims push more light into the room and suit general lighting. Adjustable trims let you aim at a shower wall or a shelf without moving the body.
The driver
The driver converts mains power into the current an LED needs. Integrated drivers are compact and factory-matched; remote drivers can be serviced from an access panel. For bathrooms, ask about the dimming range at the bottom end. A driver that only dims cleanly to 20 percent will still feel harsh at two in the morning.
The light source
Some fixtures use a fixed LED module, others accept a replaceable lamp behind the trim. Fixed modules usually give better optical control and a lower profile; replaceable lamps make future changes easier. This is also where colour temperature switching belongs. A three-colour fixture lets one SKU be installed as 3000 K or 4000 K, which simplifies stock for distributors and removes a common reason for returns.
Wet-Rated, Damp-Rated and What IP Numbers Actually Mean
Two labelling systems appear on bathroom lighting, and they are often confused. The first is location rating, usually written as damp location or wet location. A damp-location fixture tolerates moisture and condensation but not direct water contact. A wet-location fixture is built for direct exposure to rain, spray or splash. A covered bathroom ceiling is normally a damp location; the inside of a shower enclosure is a wet location.
The second system is the IP code, common on European and export-market fixtures. The first digit covers solids and dust, the second covers water. IP44 resists splashes from any direction. IP65 resists low-pressure water jets. IP67 tolerates temporary immersion. In practice, an IP65 downlight inside a shower area gives you real margin against spray, cleaning hoses and condensation, while a basic IP20 fixture belongs nowhere near a bath.
| Zone | Exposure | Practical minimum |
|---|---|---|
| Inside the shower or over the bath | Direct spray and heavy condensation | Wet-listed fixture or IP65 |
| Immediately around the shower | Splash and drifting steam | IP44 or above |
| General bathroom ceiling | Humidity and condensation only | Damp-rated or IP44 |
| Above the basin | Occasional splashes | IP44, gasketed trim |
One detail gets overlooked constantly: the gasket. An IP-rated housing with a poor trim gasket still lets moisture into the cavity. Look for a closed-cell silicone gasket and a trim that seats firmly against the tile without visible gaps.
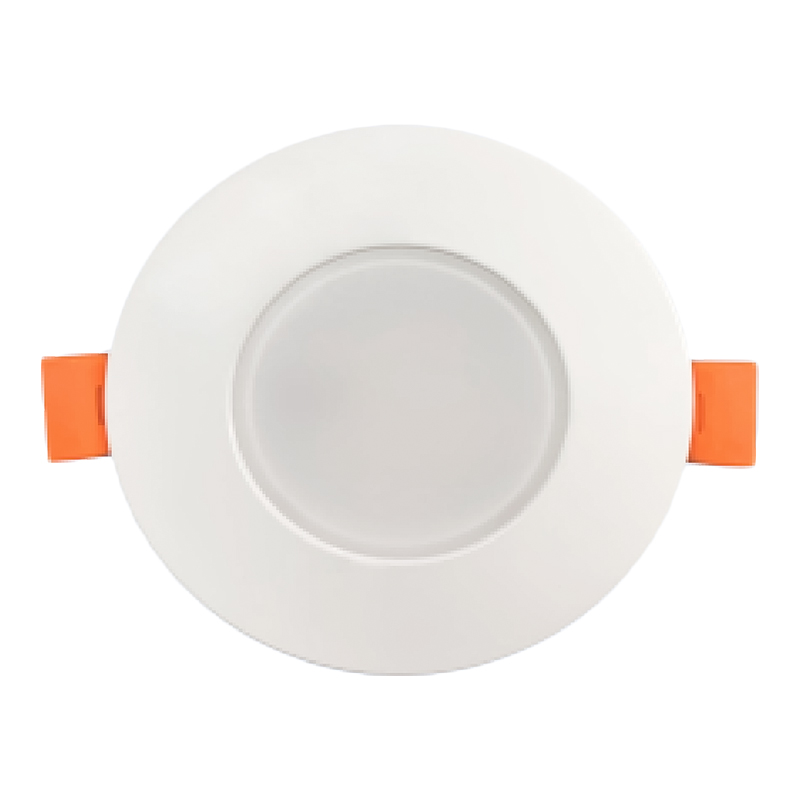 IP65 3CCT LED Downlight with Sealed GasketAn IP65-rated 5W/7W downlight with 3CCT dial and sealed gasket, useful where moisture sealing and reliable bathroom trim fit matter.View Product →
Planning the Layout, Step by Step
A bathroom lighting plan is not complicated, but it does follow an order. Changing the order later usually means moving a cutout.
Step 1
Map the zones before you place anything
Zone 1 sits inside the shower or over the bath, zone 2 wraps around it, and the rest of the room is general. Ratings follow zones, so draw them on the plan first and the fixture choices become obvious.
Step 2
Choose the main axis
Most bathrooms read better when fixtures run in a line parallel to the vanity or to the long wall. Diagonal placement can work in a very square room, but it complicates tile alignment and makes trim positioning harder to judge.
Step 3
Set the outer row and the spacing
Keep the fixtures nearest the walls roughly 600 to 750 mm off the wall. Closer than that and you get a hot scallop of light with a dark band above it; much further out and the corners go dim. Then space the row at roughly half the ceiling height between centres, which lands around 1.2 metres on a 2.4 to 2.7 metre bathroom ceiling.
Step 4
Add the vanity pair, not a single fixture
For a mirror, two fixtures flanking the centre line beat one fixture above it. A single downlight directly over a mirror throws shadows under the brow and nose, which is exactly where you need light. Place two fixtures roughly 400 to 600 mm either side of the mirror centre and slightly forward of the mirror plane where the ceiling allows it.
Step 5
Check beam overlap and dimming
At the working plane, adjacent beams should overlap enough that you cannot see a dark seam between pools of light. Then confirm that the fixtures you selected sit on a dimmer that matches the driver, and that the lowest dim level is comfortable for night use.
If you want a more detailed walk-through of installation sequencing, our guide on how to choose and install LED downlights covers cutouts, wiring and driver placement in more depth.
Layering Light: Ambient, Task and Accent
Three layers, three different jobs. Keeping them on separate switches or dimmer channels is what makes a bathroom feel comfortable in the morning and calm at night.
Ambient
Ambient light sets the base level for the whole room. This is usually the widest-beam layer, arranged around the free ceiling area or in a line down the centre. It should be bright enough to move around safely without being so strong that it flattens the space.
Task
Task light is what you actually shave, apply makeup and read shampoo labels by. It lives over the vanity and inside the shower, uses a tighter beam, and benefits most from a high colour rendering index. This layer is worth spending on.
Accent
Accent light adds depth: a wash down a textured wall, a narrow beam on a niche, a soft glow behind a freestanding bath. Keep accent fixtures on their own channel so the room can change character without turning on everything.
Color Temperature, CRI and Beam Angle
Three numbers decide how a bathroom feels once it is lit: colour temperature, colour rendering and beam angle. They are also the three most common reasons a finished installation feels slightly wrong.
Colour rendering matters more here than almost anywhere
Aim for CRI 80 as a floor across the room and CRI 90 or above around the mirror. At CRI 80, reds in skin and cosmetics grey out noticeably; at 90 and above, foundation, lipstick and clothing colours read much closer to daylight, which is the whole point of a bathroom mirror.
Beam angle decides where the light lands
A 24 to 36 degree beam concentrates output and works best for accent light or a tightly targeted vanity wash. A 60 degree beam spreads light evenly and suits general bathroom lighting. Anything above 90 degrees flattens the room and can bounce glare off glossy tiles, which is uncomfortable at eye level.
How Many Watts, How Many Fixtures
Wattage is not a brightness figure on its own, but it is a useful shorthand once beam angle is fixed. The table below reflects the range we work with for indoor bathrooms on typical 2.4 to 3.0 metre ceilings.
| Fixture power | Beam | Ceiling height | Suggested spacing | Typical use |
|---|---|---|---|---|
| 3 to 5 W | 36 to 60 degrees | 2.4 to 2.7 m | 0.8 to 1.0 m | Shower niches, tight ceilings, small feature areas |
| 7 W | 60 degrees | 2.4 to 2.7 m | 1.0 to 1.2 m | General lighting in a standard bathroom |
| 9 to 12 W | 60 to 90 degrees | 2.7 to 3.0 m | 1.2 to 1.5 m | Larger bathrooms and higher ceilings |
| 12 to 15 W | 24 to 36 degrees | Any | Position driven | Accent light and targeted vanity illumination |
When the ceiling height or the final layout is still uncertain, a wattage-selectable downlight removes the guesswork. You install one cutout size and one housing, then set the output during commissioning instead of ordering twice.
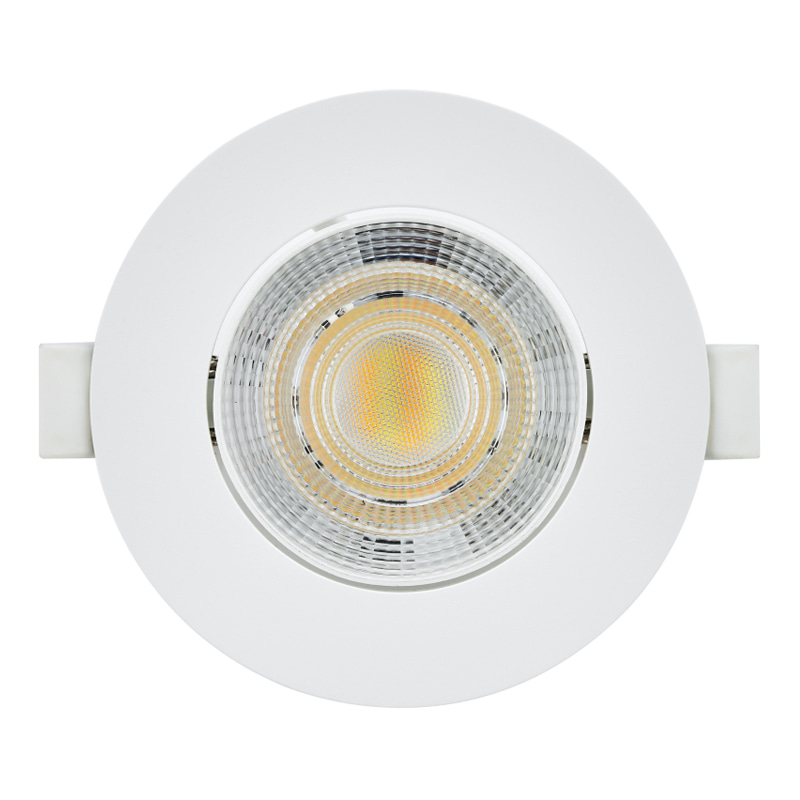 3CCT and Wattage Selectable LED DownlightSelect 3W, 5W or 7W and 3000K/4000K/6500K from one Ø68mm cutout, ideal when final layout or output is uncertain.View Product →
If you prefer to work in lumens, a rough guide for bathroom general lighting is 300 to 400 lumens per square metre, rising to around 500 lumens per square metre directly over a vanity or dressing area.
A Fixture Checklist for Damp Rooms
These are the points that separate a bathroom downlight that still looks right in five years from one that does not. Run through them before you commit to a specification.
Gasketed trim
A closed-cell silicone gasket that seats flush against the tile is the difference between a sealed fixture and a decorative one.
Rating stated in writing
Ask for the location rating and IP rating in the quotation, not just on a product photo.
Consistent cutouts
One cutout size across the whole range simplifies installation and lets you swap fixtures later without cutting tile.
Dimming compatibility
Confirm the dimmer list and the minimum dim level. Compatibility depends on the driver, not the LED module.
Colour temperature switching
A three-colour SKU reduces stock lines for distributors and removes a common cause of site-level returns.
Beam options
The same body in a 36 degree and a 60 degree version covers both accent and general lighting with one trim design.
Cutout tolerance
A trim with three to four millimetres of overlap hides small tile-cutting errors that would otherwise need a repair.
Finish durability
Powder-coated or anodised trims hold up to bathroom cleaning chemicals better than painted plastic.
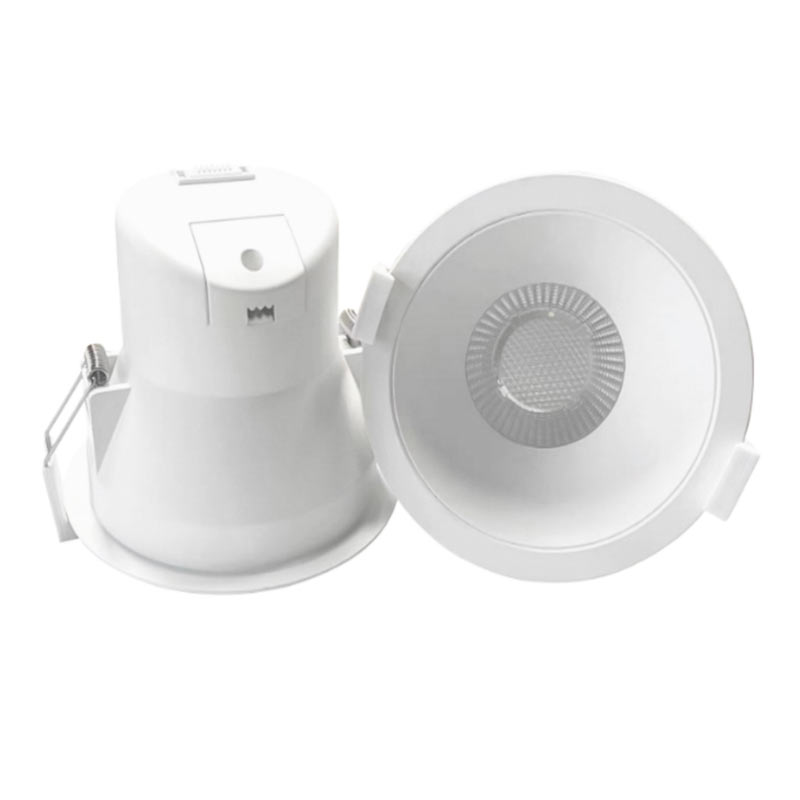 3CCT 7W/9W LED Downlights with Die-Cast Aluminum BodyDie-cast aluminum housing, 38° anti-glare optics and switch-cycled 3CCT support repeatable hotel, retail or residential lighting schedules.View Product →
Notes for Trade Buyers and Specifiers
If you are specifying bathroom lighting across a hotel, a residential development or a private-label range, the decisions shift from the aesthetic to the repeatable. Two lists cover most of it.
On the plan
- Standardise the cutout across every bathroom on the project
- Match colour temperature across all fixture types, including any mirror light
- Put wet-zone fixtures on a separate circuit or dimmer channel
- Fix the trim finish before tiling begins
- Keep one spare fixture per twenty installed for future service
On the order
- Request IP and location-rating documentation with the quotation
- Confirm dimmer compatibility against the actual dimmer model used on site
- Agree the colour temperature setting at the factory, not on site
- Check that driver access is possible from below the ceiling
- Ask for CRI and lumen output measured at the set colour temperature
For OEM and ODM projects we work from a drawing or a physical sample, confirm the specification before tooling, and keep the mechanical design consistent so a family of bathroom downlights shares one cutout and one trim interface. If you are building a private-label bathroom range, talk to our team about your project and we will walk through the options with you.
Questions We Get Asked Most
Is recessed lighting a good choice for a bathroom?
For most bathrooms with a flat ceiling, yes. It keeps the room uncluttered, allows precise zoning, and with correctly rated fixtures it handles humidity well. It is less suitable where there is no ceiling cavity for a housing, or where you want a decorative centrepiece.
Where should recessed lights be placed in a bathroom?
Start with the general row, 600 to 750 mm off the walls and roughly half the ceiling height apart. Then add two fixtures either side of the mirror and one inside or just outside the shower, rated for that zone.
How many recessed lights does a small bathroom need?
A typical four to six square metre bathroom works well with four to six fixtures: two over the vanity, two for general light, and one over the shower or bath. Too few leaves dark corners; too many makes the ceiling look busy.
What IP rating do I need above a shower?
IP65 is the safe answer inside the shower enclosure or above a bath. IP44 is usually adequate for the general ceiling. Always confirm against the wiring regulations that apply where you are installing.
Can recessed bathroom lights be dimmed?
Yes, if the driver supports it. TRIAC dimming is the most common option for retrofit-friendly installations. Check the specific dimmer and driver combination, and ask for the minimum dim level rather than assuming it reaches one percent.
What colour temperature should I choose?
3000 K suits most residential bathrooms and flatters skin tones. 4000 K works well in hotel and commercial washrooms where a crisper look is wanted. Whatever you choose, keep it consistent across every fixture in the room.
Do recessed lights need to be IC-rated or airtight?
IC-rated housings are needed where the fixture will touch insulation. Airtight housings are a separate benefit: they reduce moisture migration into the ceiling cavity, which is worth having in a bathroom even where code does not demand it.
Can the LED in a recessed downlight be replaced later?
It depends on the model. Fixtures with a fixed LED module are replaced as a complete unit, while lamp-based models accept a standard base lamp behind the trim. Ask which type you are buying before the ceiling is cut.
When the plan, the rating and the colour temperature are right, recessed lighting stops being a design decision and simply becomes the way the room works. Get those three things settled on paper first, and the rest of the specification tends to fall into place on its own.
