
 English
 中文简体
 عربى
 Español

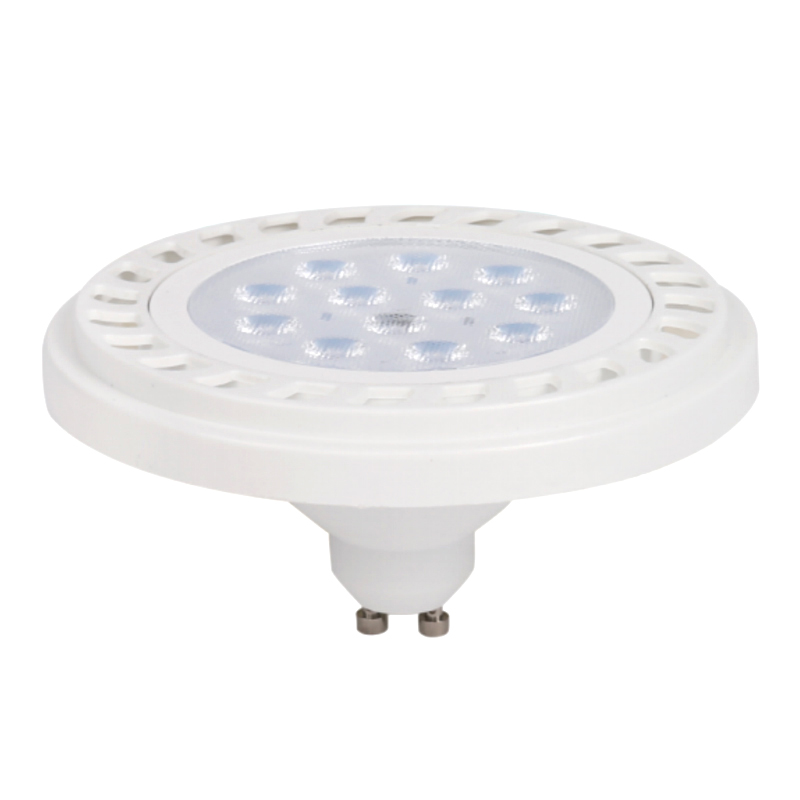
Introduction to LED Ceiling Lights LED ceiling lights have become a popular choice for modern homes,...
Content
Bathrooms are small rooms with a lot of jobs to do. In the morning the light has to be bright enough for shaving, tweezing and applying makeup; in the evening it should be soft enough to wind down by. Add steam, mirrors, tight ceiling voids and a bathtub in the corner, and you have one of the trickiest lighting briefs in the house.
LED lighting has made that brief much easier to solve, but only when the details are right. A fixture with the wrong IP rating, the wrong beam angle or the wrong colour temperature will still throw shadows across a face or fog up from the inside. What follows is the practical version of what we have learned making LED fittings for bathrooms and other damp rooms for more than thirteen years, working with brands, importers and contractors.
Why LED Fits the Bathroom So Well
Before the specifics, it is worth remembering why LEDs have taken over this room in particular:
- Instant full output. Old compact fluorescents needed a minute to warm up, which is exactly the minute you spend in front of a mirror.
- Very little heat. Nobody wants a hot lamp near a face, a towel rail or a painted ceiling.
- Low running cost. Bathroom lights are often left on for long stretches, so efficiency matters more here than people expect.
- Compact housings. Modern LED engines sit in shallow bodies, which helps when ceiling space is limited by ducting.
- Long service life. Fewer lamp changes means fewer trips up a stepladder in a slippery room.
Colour and dimming flexibility is the other advantage. With selectable and dimmable products, one order can cover a family bathroom, an en-suite and a guest cloakroom without stocking three separate versions.
Start With IP Ratings, Not Brightness
The first decision in a bathroom is not how bright the light should be. It is how exposed the fitting will be. Water and steam decide what you are allowed to install and where, so the IP rating comes before everything else.
What the Two Digits Tell You
IP ratings come from the IEC 60529 standard. The first digit covers solids and physical contact, the second covers water. For bathroom work the second digit does the real work: IP44 shrugs off splashes, while IP65 handles jets of water from any direction. A fitting with a sealed gasket and a properly rated driver is what keeps moisture out of the electronics over years of showers.
Zones, Explained Simply
Most international wiring rules divide the room into zones based on distance from a water source. The closer you get to the bath or shower, the higher the protection has to be.
| Area | Typical location | Protection to aim for |
|---|---|---|
| Outside the zones | More than about 60 cm from any water source | IP20 or better |
| Zone 2 | The 60 cm band around a bath, shower or basin | IP44 |
| Zone 1 | Directly above a bath, or inside a shower enclosure | IP65 |
| Zone 0 | Inside the bath or the shower tray itself | Low voltage, IPX7 or IPX8 |
Zone names are applied differently around the world. In North America, for instance, the code talks about damp and wet locations and relies on listing marks rather than numbered zones. The principle stays the same everywhere: the closer the water, the higher the protection.
For the area above a bath or inside a shower, a sealed IP65 downlight with a rubber gasket is the sensible choice. Our IP65 3CCT downlights are available in 5W and 7W versions and can be switched between three colour temperatures on site, which keeps life simple when one project has several bathrooms with different finishes.
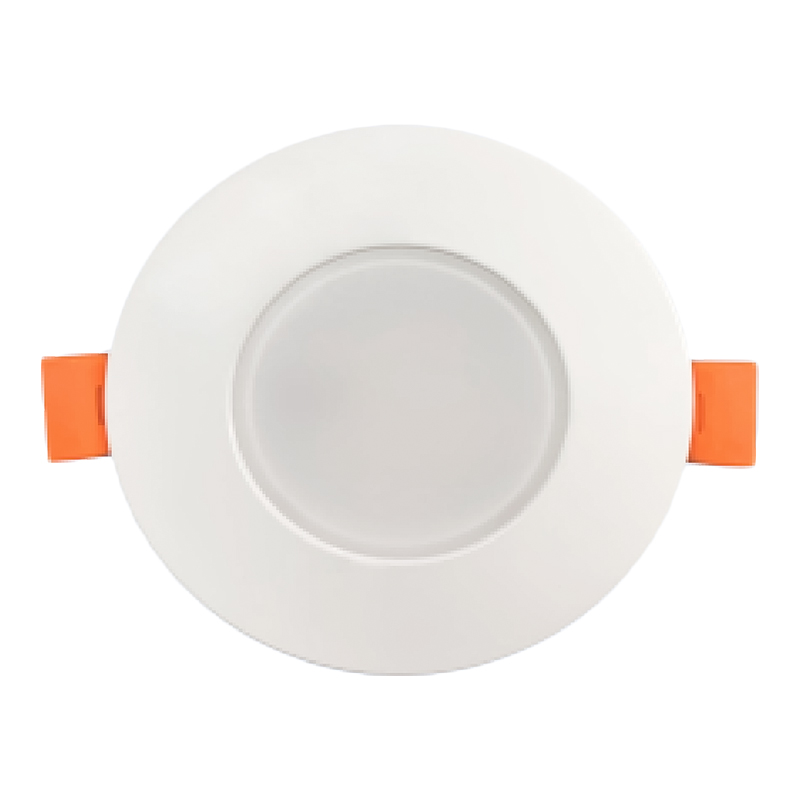 IP65 3CCT LED Downlight 5W/7W for Wet Bathroom AreasA sealed recessed downlight with on-site 3000K/4000K/5000K selection, suited to bathroom zones where moisture protection and simple specification matter.View Product →
Build Layers Instead of One Bright Ceiling Light
The complaint we hear most often about bathroom lighting is not that it is too dim. It is that it is flat, with one bright source casting hard shadows. Three simple layers fix that, and each one has a different job.
The Ambient Layer
This is the base light that fills the room, usually a flush ceiling fitting with a diffuser so you never look straight into a bare source. Diffused fittings also soften reflections on tiles and glass, which makes the whole room feel calmer. Our plastic-aluminium ceiling light is built for exactly this role, with a wide, even spread rather than a hotspot in the middle of the floor.
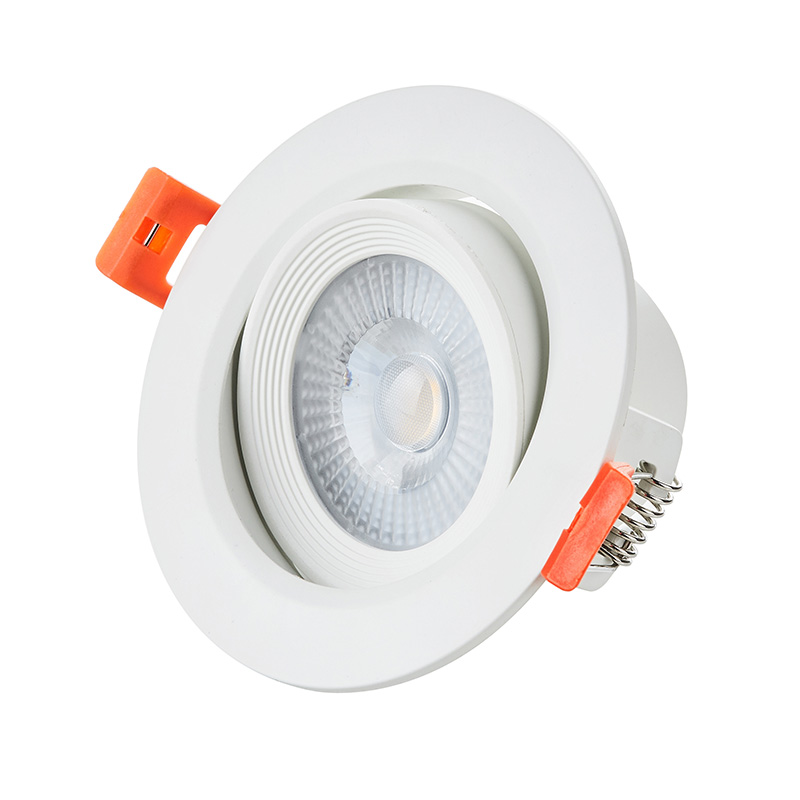 Plastic-Aluminum Ceiling Light 5W/7W/9W for Even Room LightA recessed ceiling fixture with anti-glare PMMA optic and 5W/7W/9W options, intended as the soft base layer in bathroom lighting.View Product →
The Task Layer
Mirror lighting is where bathrooms are won or lost. Light coming from directly above a mirror drops a shadow under the brow and nose, so vertical sources either side of the mirror, or a linear fitting above it, work far better. If you are recessing downlights near a vanity instead, placing them slightly forward of the basin and aiming them back towards the mirror avoids the same problem. Our guide to choosing and installing LED downlights walks through spacing and beam angles in more detail.
For a long, narrow washroom or a double-basin vanity, a linear batten is often the simplest answer. A 3CCT batten light can be set to warm, neutral or cool white on installation, so the same fitting suits a spa-style en-suite and a crisp family bathroom.
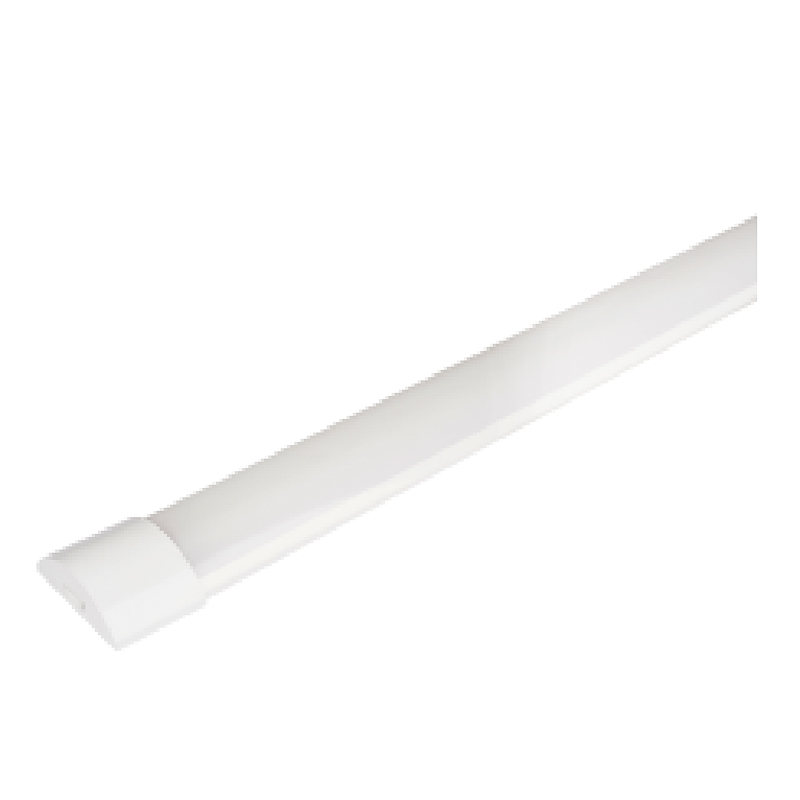 3CCT LED Batten Light for Long Washrooms and VanitiesA linear fixture with selectable 3000K, 4000K or 6500K output, useful where a long washroom or double-basin vanity needs even light.View Product →
The Accent and Low-Level Layer
A pair of small adjustable spotlights over a freestanding bath adds depth without adding glare, and a dimmed low-level light makes a 3 a.m. visit far less jarring. This layer is optional, but it is usually what makes a bathroom feel designed rather than simply lit.
Getting the Numbers Right
Once the layout is settled, the technical choices become fairly straightforward:
- Output: a common starting point is 50 to 75 lumens per square foot, which for a small 5 square metre bathroom means roughly 2,700 to 4,000 lumens in total across all layers.
- Colour temperature: 2700K feels warm and spa-like in the evening, 3000K is a comfortable all-rounder, and 4000K gives the crisp, neutral light people prefer for shaving and makeup.
- Colour rendering: aim for a CRI of 90 or above near mirrors. Skin tones look noticeably healthier under a high-CRI source.
- Glare control: keep bright sources out of the direct line of sight, especially when sitting in a bath.
- Dimming: if you want a night setting, plan the dimmer and the lamps together. TRIAC dimmable bulbs and compatible drivers avoid the flicker and buzzing that come from mismatched components.
Useful Options for Awkward Spaces
Motion and Light Sensors
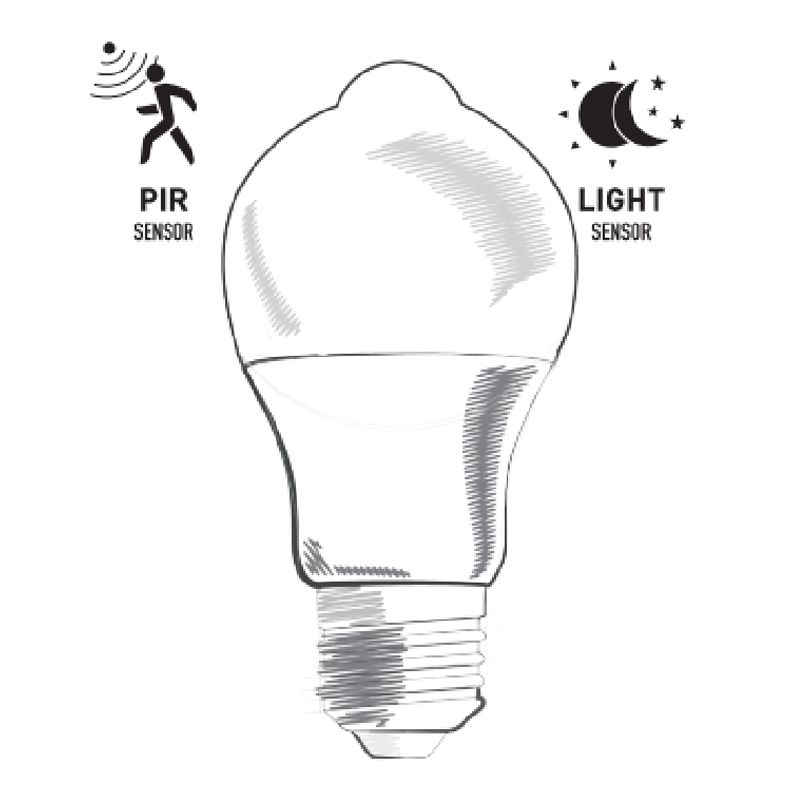
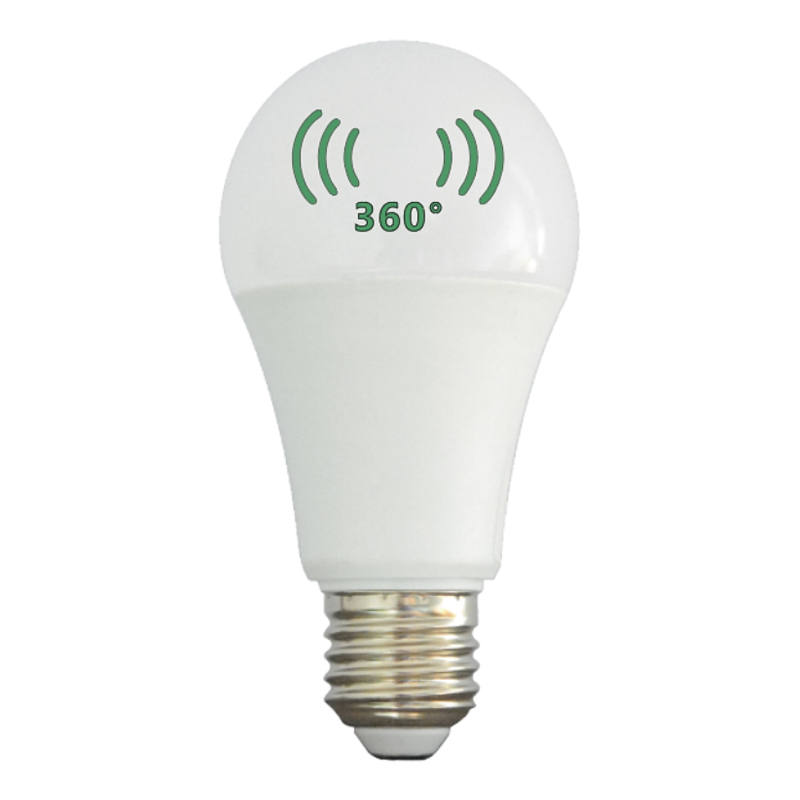
Guest cloakrooms, basement bathrooms and corridor washrooms benefit from automatic lighting. PIR and radar sensor bulbs switch on when someone enters, while light sensor versions stay off during daylight hours. Both reduce the number of switches people have to find in the dark.
Selectable Wattage and Colour
Wattage-selectable downlights let an installer dial output down for a small en-suite and up for a larger main bathroom using the same box. For distributors this also means fewer SKUs on the shelf, which is one of the reasons multi-power and 3CCT designs have become so popular.
Wide Input Voltage
Where a bathroom is served by a low-voltage or off-grid supply, wide-range AC/DC bulbs from 12V to 60V keep the lighting consistent without extra conversion equipment.
Installation Habits That Prevent Call-Backs
- Seat IP65 fittings properly so the gasket compresses evenly; a pinched gasket is the most common cause of water ingress.
- Do not position a downlight directly above a mirror. Move it forward of the basin and angle it back towards the glass.
- Think about ventilation. Steam that cannot escape will condense on cool surfaces, including diffusers.
- Keep a few spare lamps from the same production batch and colour setting, so replacements match years later.
- Clean diffusers with a soft damp cloth only. Solvents cloud polycarbonate and shorten service life.
Specifying a Bathroom Range
If you are building or refreshing a bathroom lighting range rather than lighting a single room, the priorities shift slightly. Buyers in Europe, the Americas and Asia tend to ask for the same core features: sealed IP65 construction for wet zones, CCT selectable output across the range, wattage options, and housing materials that survive humid air without discolouring. We build these to order as an OEM and ODM manufacturer, from drawings or samples, with colour temperature, beam angle, wattage and packaging adapted to your market. If you would like to talk through a project, send us your drawings or a sample and we will come back with a proposal.
A Short Checklist Before You Buy
- What is the IP rating required in each position?
- Is the total output right for the room size, spread across at least two layers?
- Which colour temperature suits the people who use the room most?
- Is the CRI high enough for mirror work?
- Have the dimmer and the lamps been checked for compatibility?
Get those five answers right and the rest tends to fall into place. Bathroom LED lighting is not really about buying the brightest fitting available. It is about putting the right light in the right place, protected to the right level, so the room works just as well at seven in the morning as it does at eleven at night.
