
 English
 中文简体
中文简体 عربى
عربى Español
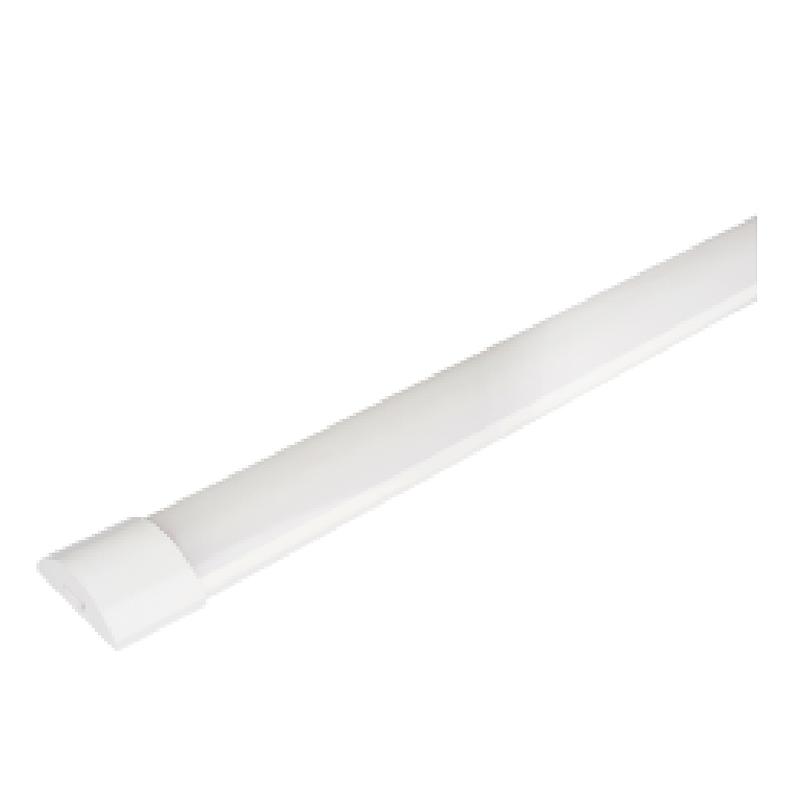
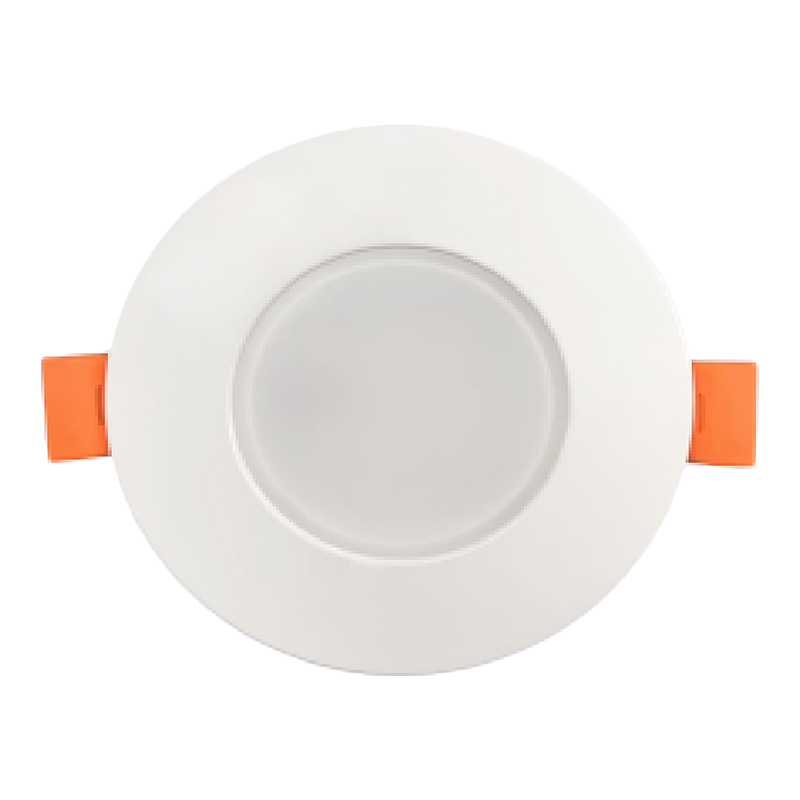
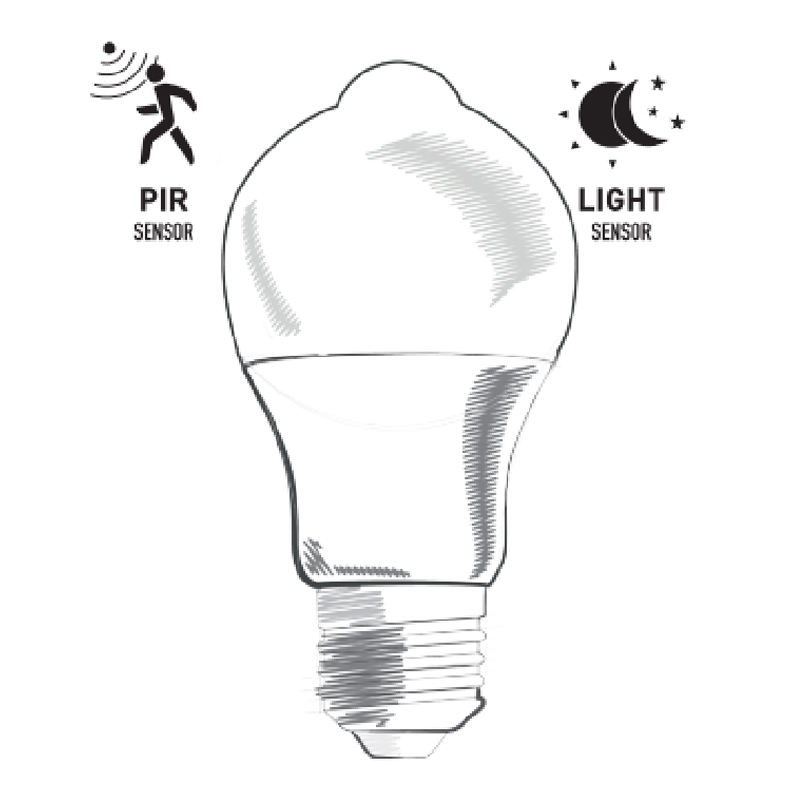
Introduction to LED Ceiling Lights LED ceiling lights have become a popular choice for modern homes,...
Content
- 1 Skipping the Circuit Breaker (and Trusting Only the Wall Switch)
- 2 Using an Incompatible Dimmer Switch
- 3 Ignoring the Electrical Box's Weight and Size Rating
- 4 Incorrect Wire Connections (Reversed Polarity and Loose Nuts)
- 5 Blocking Ventilation and Ignoring Heat Dissipation
- 6 Quick Reference: Mistake Checklist Before You Start
Installing LED ceiling lights is one of the most common DIY electrical upgrades homeowners attempt — but it's also one of the most frequently done wrong. The top 5 mistakes are: skipping the circuit breaker, mismatching dimmer switches, ignoring load-bearing capacity, incorrect wiring connections, and poor heat management. Each of these errors can lead to flickering lights, premature failure, voided warranties, or even electrical fires. Here's exactly what to watch out for — and how to do it right the first time.
Skipping the Circuit Breaker (and Trusting Only the Wall Switch)
The single most dangerous mistake is assuming that flipping the wall switch cuts all power to the fixture. It does not. The wall switch only interrupts the "hot" wire — the neutral wire remains live. Touching it without shutting off the breaker can deliver a full 120V (or 240V) shock.
According to the U.S. Electrical Safety Foundation International (ESFI), over 400 electrocution deaths occur in the U.S. each year, with DIY wiring being a leading contributing factor. The fix is simple and non-negotiable:
- Go to your electrical panel and turn off the correct circuit breaker.
- Return to the room and flip the wall switch — the light should not turn on.
- Use a non-contact voltage tester (costs ~$15) to confirm zero voltage at the junction box before touching any wires.
If you are unsure which breaker controls the room, turn them off one at a time and test the switch until the light stops responding. Never skip the voltage tester — mislabeled breaker panels are extremely common in older homes.
Using an Incompatible Dimmer Switch
This is the most common reason LED ceiling lights flicker, buzz, or fail early. LED lights require a specifically rated LED dimmer — a traditional TRIAC dimmer designed for incandescent bulbs will not work properly and can permanently damage LED drivers.
Why Old Dimmers Fail with LEDs
Incandescent dimmers work by reducing voltage. LEDs respond to reduced voltage unpredictably — they may flicker at low dim levels, turn off completely before reaching 0%, or emit an audible hum. In some cases, the LED driver overheats due to incompatible load signals.
| Dimmer Type | Compatible with LED? | Risk |
|---|---|---|
| Standard Incandescent TRIAC | No | Flickering, buzzing, early LED failure |
| LED-Rated Dimmer (TRIAC) | Yes | None when load matched |
| 0–10V Dimmer | Yes (commercial) | Requires compatible LED driver |
| Smart Dimmer (Wi-Fi/Zigbee) | Yes (if LED-rated) | Requires neutral wire in most cases |
Always check the fixture's packaging for a list of tested compatible dimmers. Lutron and Leviton both publish compatibility databases online. If your LED is labeled "non-dimmable," never connect it to any dimmer switch — doing so will burn out the driver within weeks.
Ignoring the Electrical Box's Weight and Size Rating
Before mounting any fixture, the existing electrical (junction) box must be inspected. A standard plastic junction box is rated to hold a maximum of 35 lbs — a fan-rated metal box is required for anything heavier or for ceiling fans. Using the wrong box is a code violation and a falling hazard.
What to Check Before Mounting
- Weight rating: Check the label inside the box. Most LED flush mounts weigh 3–8 lbs and are fine with a standard box. Semi-flush or larger decorative fixtures may exceed 15–20 lbs.
- Box attachment: The box must be screwed into a ceiling joist or a rated brace bar — not just stapled to drywall.
- Wire fill capacity: Overcrowding wires in a small box creates heat and is a fire risk. The NEC (National Electrical Code) specifies minimum cubic-inch requirements per wire gauge. A 14 AWG wire requires 2 cubic inches per conductor.
- Old work vs. new work boxes: For retrofit installs, use an "old work" box with expanding wings that grip drywall from behind — never use a new-construction box in an existing ceiling without joist access.
If the existing box is inadequate, retrofit brace bars (such as the Westinghouse 0101900) allow you to install a new fan-rated box from below without cutting into the ceiling — typically costing under $20.
Incorrect Wire Connections (Reversed Polarity and Loose Nuts)
Wiring errors are responsible for the majority of post-installation failures — including lights that won't turn on, fixtures that shock when touched, and arc faults that can ignite insulation. The two most frequent wiring mistakes are reversed polarity and under-tightened wire nuts.
Reversed Polarity
In a standard U.S. installation, the black (hot) wire from the ceiling connects to the black wire of the fixture, and the white (neutral) connects to white. Connecting them in reverse — black to white — creates reversed polarity. The light may still work, but the fixture's shell becomes energized even when switched off, creating a shock hazard during bulb changes or maintenance. Always confirm polarity with a plug-in polarity tester or multimeter before closing up the box.
Loose or Incorrect Wire Nuts
Wire nuts must be matched to the number and gauge of wires being joined. A wire nut rated for two 14 AWG wires will not securely hold three. Loose connections cause:
- Intermittent flickering as the connection vibrates
- Arcing at the joint, which can reach temperatures over 10,000°F and ignite nearby materials
- Voltage drop that shortens LED driver lifespan
After twisting wire nuts clockwise until firm, tug each wire individually — it should not pull free. For added security, wrap the base of wire nuts with a half-wrap of electrical tape. Never use push-in "backstab" connectors for ceiling fixtures; screw-terminal connectors or properly rated wire nuts are the only reliable options for overhead installations.
Don't Skip the Ground Wire
The green or bare copper ground wire must be connected to the fixture's ground screw or wire. It does not carry current during normal operation but provides a critical fault path that trips the breaker — instead of sending fault current through you — in the event of a short circuit. Omitting it is an NEC violation and removes your last line of protection.
Blocking Ventilation and Ignoring Heat Dissipation
LED lights are far more efficient than incandescent bulbs — but they still generate heat at the driver and the LED chip. Heat is the primary cause of early LED failure. A quality LED ceiling light rated for 50,000 hours at 25°C (77°F) may deliver fewer than 15,000 hours if it consistently operates at 60°C (140°F) due to poor ventilation.
The IC vs. Non-IC Rating Problem
Recessed LED fixtures come in two thermal ratings:
- IC-rated (Insulation Contact): Safe to be covered by attic insulation. These have built-in thermal protection and are required wherever ceiling insulation may contact the fixture.
- Non-IC-rated: Must have at least 3 inches of clearance from all insulation. Covering a non-IC fixture with insulation traps heat and is a fire code violation.
If you're not sure what's above your ceiling, always purchase IC-rated fixtures — they cost only $5–$15 more and eliminate the risk entirely.
Enclosed Fixture Ratings
Flush-mount and semi-flush LED ceiling lights often enclose the LED assembly inside a sealed housing. Not all LED bulbs or modules are rated for enclosed fixtures. Installing a non-enclosed-rated LED inside a sealed dome trap heat, dramatically shortening its lifespan. Look for the phrase "suitable for enclosed fixtures" on the packaging. If using an integrated LED module (no replaceable bulb), verify the fixture itself is designed for the installation location and airflow conditions.
| Operating Temperature | Estimated LED Lifespan | Lumen Depreciation (L70) |
|---|---|---|
| 25°C (77°F) | 50,000+ hours | ~50,000 hrs |
| 45°C (113°F) | ~30,000 hours | ~30,000 hrs |
| 60°C (140°F) | ~15,000 hours | ~15,000 hrs |
| 75°C (167°F) | <8,000 hours | <8,000 hrs |
Quick Reference: Mistake Checklist Before You Start
Use this checklist before beginning any LED ceiling light installation:
- Circuit breaker is OFF and confirmed with a non-contact voltage tester
- Dimmer switch (if used) is LED-rated and listed as compatible with the specific fixture
- Junction box weight rating is sufficient for the fixture and is anchored to a joist or rated brace
- Black-to-black, white-to-white, and ground-to-ground wiring confirmed; polarity verified
- Wire nuts are the correct size and all connections pass the tug test
- Fixture has IC rating if attic insulation is present; enclosed-fixture rating verified if housing is sealed
When in doubt, consult a licensed electrician. The cost of a one-hour service call (~$80–$150) is far less than replacing a damaged fixture, repairing drywall after an arc fire, or dealing with a failed home inspection caused by non-code-compliant wiring.
