
 English
 中文简体
中文简体 عربى
عربى Español
Introduction to LED Ceiling Lights LED ceiling lights have become a popular choice for modern homes,...
Content
You have a new light fixture ready to install, but the green and bare copper wires make you pause. You are not alone: replacing a ceiling light usually means dealing with the ground wire last, and it is often the shortest wire in the box. The core rule is straightforward: connect the fixture's ground wire to the house ground wire, or, if you have a metal electrical box, attach it to the grounding screw on the box. If the house has no ground wire at all, the fixture must be double-insulated or protected by a GFCI circuit, and a qualified electrician should confirm the setup. This article walks through the decision, the step-by-step connections, and the situations where grounding gets confusing.
Why Grounding a Light Fixture Matters
A ground wire is not a path for normal electricity. It is a safety net that carries fault current away from a damaged fixture. When a hot wire loosens and touches the metal frame of a fixture, the ground gives that current a low-resistance route back to the panel, which makes the breaker trip quickly. Without that path, the metal fixture becomes energized at line voltage. Touching it can give you a shock, especially in a damp location like a garage, bathroom, or outdoor entryway.
LED fixtures deserve the same grounding discipline as any other appliance. Although LEDs use far less power than older bulbs, the driver that converts line voltage into DC current can fail internally. A failed component inside the driver can put live voltage on the aluminum heat sink or the mounting plate. A solid ground connection keeps that voltage from becoming a hazard. In many LED designs, the heat sink is intentionally exposed for cooling, which means the metal surfaces you might touch while changing a bulb are the exact surfaces that need ground protection.
Tools and Materials You Will Need
- Insulated screwdrivers
- Wire strippers
- Voltage tester, either non-contact or a multimeter
- Wire connectors rated for the wire gauge you are joining
- A grounding pigtail, if your new fixture does not include one
- A flashlight, because the fixture box is often in a dark corner
The tools are standard, but do not skip the voltage tester. Even with the wall switch off, the circuit may still be live from a shared neutral or an incorrectly wired switch loop. Test every wire in the box before you touch anything.
How to Ground a Light Fixture Step by Step
- Turn off the circuit at the breaker panel. The wall switch may disconnect only the hot wire, and it does not guarantee that the neutral side of the circuit is safe. Working with the breaker off is the only reliable way to isolate the fixture.
- Confirm the power is dead. Place a non-contact voltage tester near each wire and on the metal box before proceeding. If the tester lights up, the circuit is still energized.
- Remove the old fixture. Note how the wires are connected. In most cases, the old fixture will have a black hot wire, a white neutral wire, and a bare or green ground wire. If the old fixture is not grounded, you may need to check the cable inside the box more carefully.
- Identify the ground wires. In modern wiring, the ground is bare copper or green. In flexible conduit systems, the ground can be a green wire with a yellow stripe. In some older cables, the ground is a small stub of bare copper that appears shorter than the insulated wires.
- Connect the fixture ground wire to the house ground wire. Hold both bare wires parallel, twist them together with pliers, and screw on a wire connector. Then gently tug each wire to make sure the connection holds. If the fixture ground is a stranded wire, you may need a different type of connector designed for stranded conductors.
- If the electrical box is metal, attach a pigtail to the grounding screw. Use a short green or bare wire, install it under the green screw inside the box, then connect the other end of the pigtail to the fixture ground wire with a wire connector. This grounds both the metal box and the fixture. The mounting bracket itself is often grounded through the box screws, but a separate pigtail is safer when the bracket is painted or coated.
- Join the hot and neutral wires. Connect black to black and white to white with wire connectors. Make sure no bare copper is visible beyond the connector except on the ground wires.
- Tuck the wires carefully into the box. Position the connected wires so that the ground wire is not pinched against a metal edge or wrapped around the hot screw terminal. A damaged ground wire can create a hidden short.
- Mount the fixture and restore power. Once the fixture is secured, turn the breaker back on and test the light. Then touch the metal parts of the fixture with the back of your hand. If you feel any vibration or tingle, turn the power off immediately and recheck the wiring.
That is the complete ground connection for a typical modern fixture. The sequence is the same for most LED fixtures, though the location of the grounding screw may move from the box to the mounting plate.
Grounding in Specific Situations
Plastic Junction Boxes
A plastic box does not need to be grounded itself, but a fixture with a metal frame or heat sink still does. If the cable entering the box includes a ground wire, connect the fixture ground directly to that wire and push the connection to the back of the box. If the box only has two wires and no ground, your fixture must be double-insulated. Look for the double-insulation symbol, which looks like a square inside another square, on the fixture label. If the fixture has a ground terminal and no ground wire is present, stop and consult an electrician. Leaving a ground wire loose inside a plastic box gives you no protection at all.
Older Homes Without a Ground Wire
Many older homes use two-wire cable without a grounding conductor. In that situation, you have three realistic options: choose a double-insulated fixture, install a GFCI-protected circuit where the code permits, or run a new grounding wire back to the panel. The third option is the most robust, but it is not a beginner project. A licensed electrician can tell you which approach is acceptable for your local code. Do not assume that a cold water pipe or a metal conduit is a valid ground unless you have verified it with the proper test equipment.
Painted or Coated Mounting Brackets
Grounding depends on metal-to-metal contact. A painted or anodized mounting bracket can act as an insulator and prevent the ground screw from making a connection. Before attaching the ground screw, scrape the paint away at the contact point, or use a star washer that cuts through the coating. This one detail is easy to miss, and it is one of the most common reasons a fixture tests as ungrounded after installation.
Common Grounding Mistakes to Avoid
- Connecting ground to neutral. This is a code violation and a real hazard. Neutral carries current during normal operation, so a ground wire connected to neutral can energize the metal parts of the fixture even when it is off.
- Leaving a ground wire loose inside a metal box. A loose ground wire can drift over and touch a live terminal, energizing the entire box and any fixture connected to it.
- Trusting the wall switch instead of the breaker. A wall switch might cut only the hot wire, but you can still find voltage in the box because of a shared neutral or a switched loop. Always trip the breaker.
- Twisting ground wires without a connector. Electrical tape is not a substitute for a listed wire connector. The joint can loosen and cause arcing inside the box.
- Assuming a plastic fixture never needs grounding. If the fixture has a metal mounting plate, a metal shade, or an aluminum heat sink, a ground is required.
- Not testing the fixture after installation. A visual inspection does not reveal a poor ground connection. Use a multimeter to check continuity or ask an electrician to verify the path.
Grounding Different Types of LED Fixtures
We manufacture indoor LED fixtures, and grounding is one of the first things we check in our factory because almost every LED product includes a metal component. The exact connection point varies by product type, so it helps to know what you are about to install.
For a surface-mounted ceiling light, the ground connection is usually on the mounting bracket or the metal base. Our plastic-aluminum ceiling light uses an aluminum heat sink that acts as the main structural part, so a dedicated ground wire is attached to the mounting plate. You simply connect that wire to the house ground before sliding the canopy into place.
 Wholesale Plastic-Aluminum Ceiling Light Factory, Manufacturers - Ningbo GuangjiNingbo Guangji Lighting Technology Co., Ltd. is China Wholesale Plastic-Aluminum Ceiling Light Manufacturers and Plastic-Aluminum Ceiling...View Product →
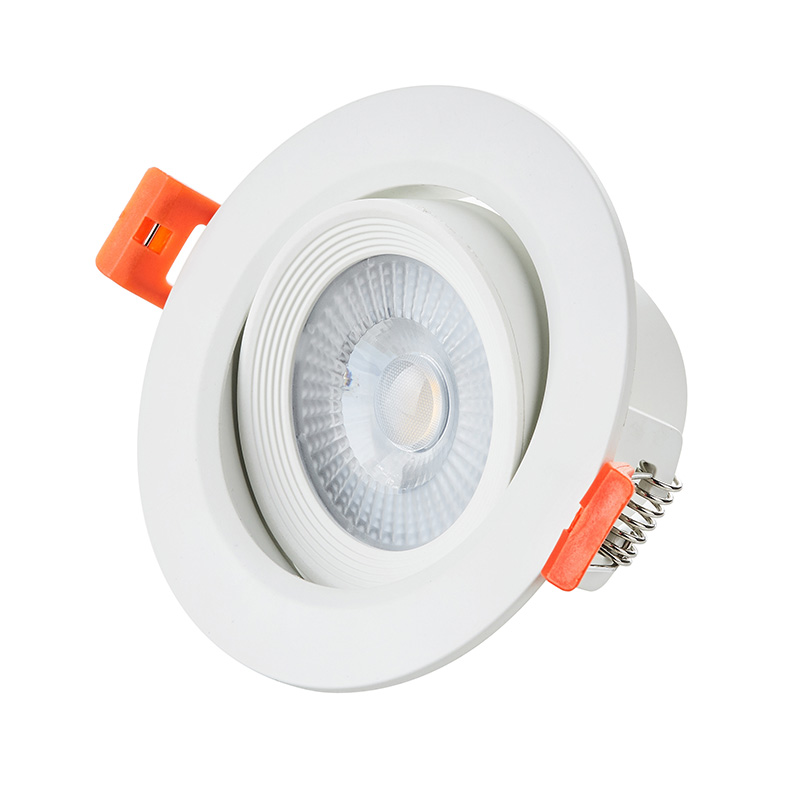
Recessed downlights are a little different because the junction box is built into the housing. Our 3CCT 7W/9W LED downlights include a short ground pigtail already connected to the housing. When the housing is screwed to a grounded electrical box, the downlight is grounded through that pigtail. If the recessed housing is plastic and the cable has no ground, you need to treat the installation like the older-home situation described earlier.
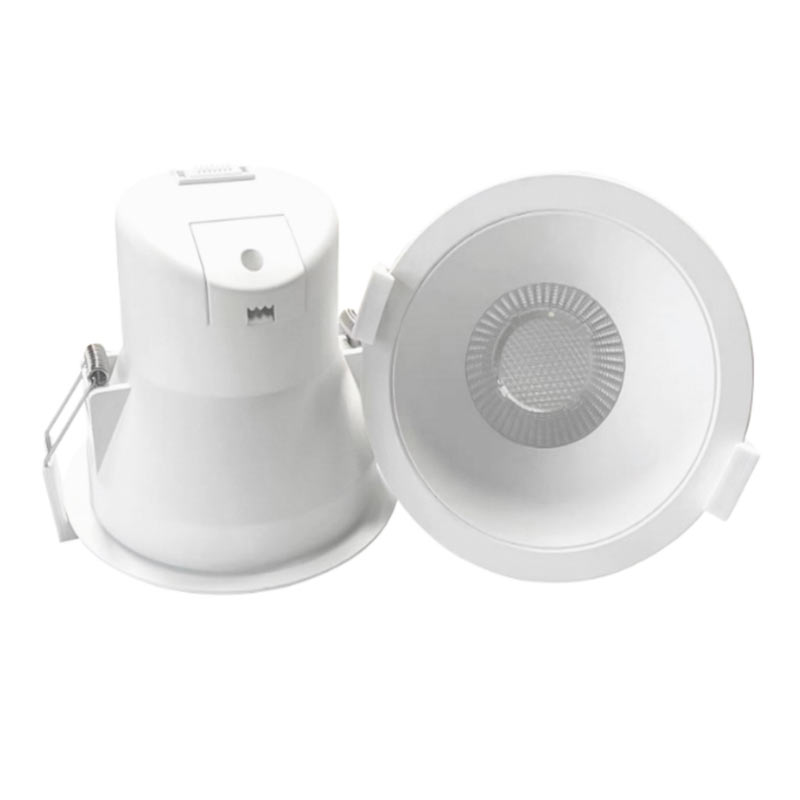 Wholesale 3CCT 7W/9W LED Downlights Factory, Manufacturers - Ningbo Guangji LighNingbo Guangji Lighting Technology Co., Ltd. is China Wholesale 3CCT 7W/9W LED Downlights Manufacturers and 3CCT 7W/9W LED Downlights Fac...View Product →
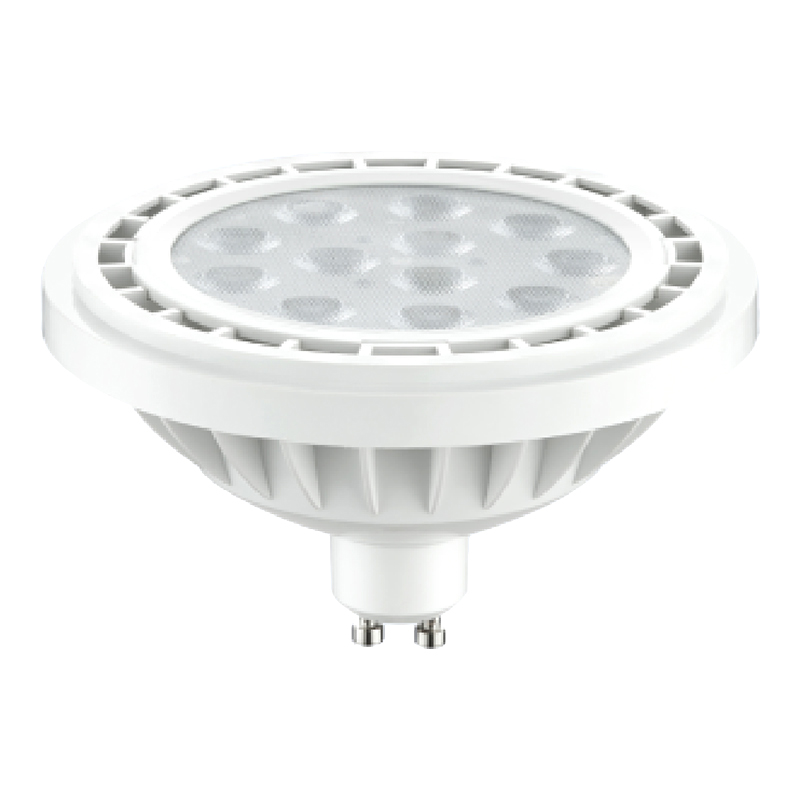
Track-mounted spotlights often rely on the track itself for grounding, so the track adapter must be rated for the fixture. Our AR111 plastic-aluminum spotlight is a GU10 lamp cup, so the ground path runs through the track or the existing lamp holder. Verify that the track and its connections are grounded before inserting the lamp cup, especially in a commercial display setting.
 Wholesale AR111 Plastic-Aluminum LED Spotlight Factory, Manufacturers - Ningbo GNingbo Guangji Lighting Technology Co., Ltd. is China Wholesale AR111 Plastic-Aluminum LED Spotlight Manufacturers and AR111 Plastic-Alum...View Product →
For a more detailed walkthrough that covers driver connections and trim selection, see our guide on how to choose and install LED downlights.
After the Ground: Final Checks and When to Call an Electrician
Once the fixture is mounted, turn the power on and test the switch. If the light works and you do not feel any tingle on the metal parts, the basic installation is complete. You can also use a multimeter to check continuity between the fixture body and the ground wire in the box; zero ohms is the expected reading. If the meter shows an open circuit, something is preventing the ground connection, and the fixture should not be left in service.
If you opened the box and found wires that are not color-coded, if the ground wire is missing entirely, or if the fixture feels too heavy for the mounting point, stop the installation. These are signs that a second opinion is worth the cost. A licensed electrician can also verify whether a GFCI breaker is an acceptable solution in your area and can help you add a proper grounding conductor to older wiring.
For any specific wiring question about our fixtures, you can always contact our customer service team before completing the job.
