
 English
 中文简体
中文简体 عربى
عربى Español
Introduction to LED Ceiling Lights LED ceiling lights have become a popular choice for modern homes,...
Content
- 1 LED Ceiling Light Types: Know What You Are Looking At
- 2 How Many Lumens Do You Actually Need?
- 3 Color Temperature Guide: Setting the Right Mood per Room
- 4 Room-by-Room Choosing Guide
- 5 How to Install an LED Ceiling Light: Step-by-Step
- 6 Dimmer Compatibility: Getting It Right Before You Buy
- 7 Smart LED Ceiling Lights: Are They Worth It?
- 8 Common Mistakes to Avoid
The right LED ceiling light depends on three variables: the room's function, its ceiling height, and the amount of light output (lumens) needed to illuminate the floor area effectively. Choose too dim and the space feels cramped; choose the wrong fixture type and the light distribution creates shadows exactly where you need clarity. This guide covers every major room in the home, gives you concrete lumen and wattage targets for each, and walks through the installation process step by step — so you buy the right fixture once and fit it correctly the first time.
LED Ceiling Light Types: Know What You Are Looking At
Before choosing by room, it helps to understand the four main ceiling light formats and what each one does best.
Flush Mount
Sits flat against the ceiling with no gap between the fixture and the ceiling surface. Ideal for rooms with ceiling heights under 2.7m (9ft) where a pendant or semi-flush fitting would feel too low. Available in round, square, and rectangular profiles. Output range: 800–4,000 lm depending on diameter.
Semi-Flush Mount
Hangs 10–30cm below the ceiling on a short stem or canopy. Suits ceiling heights of 2.7m–3.3m (9–11ft). The small gap allows light to spill upward, reducing the "cave effect" of flush fittings and adding more visual depth to the room.
Recessed Downlight (Can Light)
Installed inside the ceiling cavity with only the trim visible. Creates a clean, uncluttered ceiling line. Requires ceiling void depth of at least 80–100mm. Multiple recessed downlights are typically used together to provide even ambient coverage — a single recessed fixture cannot illuminate a room on its own.
LED Panel Light
A flat, square or rectangular fixture that surface-mounts or recesses into a suspended ceiling grid. Produces extremely even, glare-controlled light. Output up to 5,000 lm per panel. Common in offices, kitchens, and commercial spaces. Less suited to residential living rooms where ambiance matters.
| Type | Best Ceiling Height | Typical Output | Best Use |
|---|---|---|---|
| Flush Mount | Under 2.7m | 800–4,000 lm | Bedrooms, hallways, bathrooms |
| Semi-Flush | 2.7m–3.3m | 1,000–3,500 lm | Living rooms, dining rooms |
| Recessed Downlight | 2.4m–3.5m | 400–1,500 lm each | Kitchens, bathrooms, open plan |
| LED Panel | 2.4m–3.0m | 2,000–5,000 lm | Offices, kitchens, commercial |
How Many Lumens Do You Actually Need?
Lumen output — not wattage — is the correct measure of brightness. The standard method for calculating required lumens uses a target lux level (lumens per square metre) multiplied by the room's floor area, then adjusted upward by a utilisation factor to account for light lost to walls and ceiling absorption.
For a simplified residential calculation, use the following recommended lux levels by room type and multiply by floor area in square metres:
| Room | Recommended Lux | Example: 15m² Room | Total Lumens Needed |
|---|---|---|---|
| Living Room | 100–150 lux | 15m² | 1,500–2,250 lm |
| Kitchen | 300–500 lux | 12m² | 3,600–6,000 lm |
| Bedroom | 100–200 lux | 12m² | 1,200–2,400 lm |
| Bathroom | 150–300 lux | 6m² | 900–1,800 lm |
| Home Office | 300–500 lux | 10m² | 3,000–5,000 lm |
| Hallway | 100–150 lux | 5m² | 500–750 lm |
Practical tip: Add 20–30% to the calculated total to account for light absorption by dark walls, furniture, and flooring. A room with dark grey walls and wood floors absorbs significantly more light than a room with white walls and pale flooring.
Color Temperature Guide: Setting the Right Mood per Room
Color temperature is measured in Kelvin (K) and controls whether the light feels warm and relaxing or cool and energising. This single decision affects the entire atmosphere of a room more than fixture style or brightness level.
- 2700K (Warm White) — Amber-toned, similar to traditional incandescent. Best for bedrooms, living rooms, dining rooms, and any space where relaxation is the goal. Creates a cosy, intimate atmosphere.
- 3000K (Soft White) — Slightly less amber than 2700K; the most versatile residential color temperature. Works across kitchens, bathrooms, hallways, and living spaces without feeling clinical or too yellow.
- 4000K (Cool White / Neutral) — Crisp, neutral light with no perceptible warmth or coolness. Preferred for home offices, garages, utility rooms, and kitchens where task performance and visual clarity matter most.
- 5000K–6500K (Daylight) — Blue-white, high-alert light. Appropriate for workshops, craft rooms, and commercial applications. Generally too harsh and stimulating for any residential living space.
Important: Never mix color temperatures in the same room or connected open-plan space. Combining a 2700K ceiling light with 4000K under-cabinet lights in a kitchen creates a visually incoherent environment that no amount of dimming can fix. Choose one color temperature and apply it consistently across all fixtures in the zone.
Room-by-Room Choosing Guide
Living Room
The living room requires layered lighting — a ceiling light alone is rarely sufficient. Use a dimmable flush or semi-flush LED ceiling light at 2700K–3000K as the ambient base, supplemented by floor lamps and table lamps for reading zones. For ceiling heights under 2.7m, a 30–45cm diameter flush mount producing 1,500–2,500 lm is appropriate for most living rooms up to 20m². If you have recessed downlights, ensure they are dimmable and set back from walls by at least 800mm to avoid hot spots on the perimeter.
Dimming is non-negotiable in a living room. A fixed-brightness ceiling light forces you into one lighting mode for every occasion — evening relaxation, movie watching, and social gatherings all need different light levels. Budget for a dimmable LED fixture and a compatible trailing-edge dimmer switch from the outset.
Kitchen
Kitchens need the highest lux level of any residential room — 300–500 lux — because food preparation requires accurate color perception and shadow-free work surfaces. For a standard kitchen of 10–15m², a combination of recessed LED downlights (spaced 1–1.2m apart) at 4000K with CRI 90+ provides the clearest, most functional light. A single central ceiling light, however large, will always cast shadows from the cook's body onto the countertop — multiple downlights or a linear LED panel eliminates this problem entirely.
If recessed installation is not possible, a 600×600mm or 300×1200mm LED panel surface-mounted to the ceiling produces even, shadow-free coverage across the entire kitchen in one fixture. Output of 3,500–4,500 lm is typical for this panel size — sufficient for kitchens up to 12m².
Bedroom
The bedroom ceiling light sets the baseline mood for the space, but it should never be the only light source used for reading or detailed tasks. Choose a dimmable flush mount at 2700K with an output of 1,200–2,000 lm for rooms up to 15m². Lower color temperatures (2700K rather than 3000K) actively support melatonin production and better sleep quality — a meaningful difference if the overhead light is used in the hour before bed.
For master bedrooms, consider a tunable white LED ceiling light — a fixture that allows color temperature to shift between 2700K and 4000K via a remote or smart home app. This single fixture investment covers morning alertness lighting (4000K) and evening wind-down lighting (2700K) without requiring multiple fixtures.
Bathroom
Bathroom ceiling lights must carry an IP rating appropriate for their position relative to water sources. UK and European wiring regulations (and similar codes in other regions) divide bathrooms into zones:
- Zone 0 (inside the bath or shower tray) — Minimum IP67; 12V only
- Zone 1 (directly above bath or shower, up to 2.25m high) — Minimum IP44; 12V or mains with RCD protection
- Zone 2 (600mm outside Zone 1) — Minimum IP44 recommended
- Outside zones (general bathroom area) — Standard IP20 acceptable, but IP44 recommended throughout for safety
Choose 3000K at CRI 90+ for bathroom lighting. High CRI is especially important in bathrooms where accurate skin tone rendering affects grooming, makeup application, and general appearance assessment. Avoid cool white (4000K+) in bathrooms — it creates a clinical, unflattering light that most people find uncomfortable.
Home Office
A home office requires 300–500 lux at the work surface and a UGR (Unified Glare Rating) below 19 to prevent screen glare and eye strain. Choose a 4000K LED panel or flush mount with an output of 3,000–5,000 lm for rooms of 8–12m². Position ceiling lights to the side of the desk rather than directly above — overhead light produces reflections on computer screens and casts shadows from the user's hands and arms during writing tasks.
If you use video calls regularly, supplement ceiling lighting with a dedicated desk lamp directed at your face from in front — ceiling-only light from above creates unflattering shadowing under the eyes and nose on camera.
Hallway and Landing
Hallways are transition spaces — lighting needs to be adequate for safe movement and wayfinding without being so bright that they feel harsh when you walk through at night. A flush mount at 3000K producing 500–1,000 lm is sufficient for most hallways under 8m². For longer hallways, install multiple flush mounts at intervals of no more than 2.5m to maintain even coverage without dark patches between fixtures.
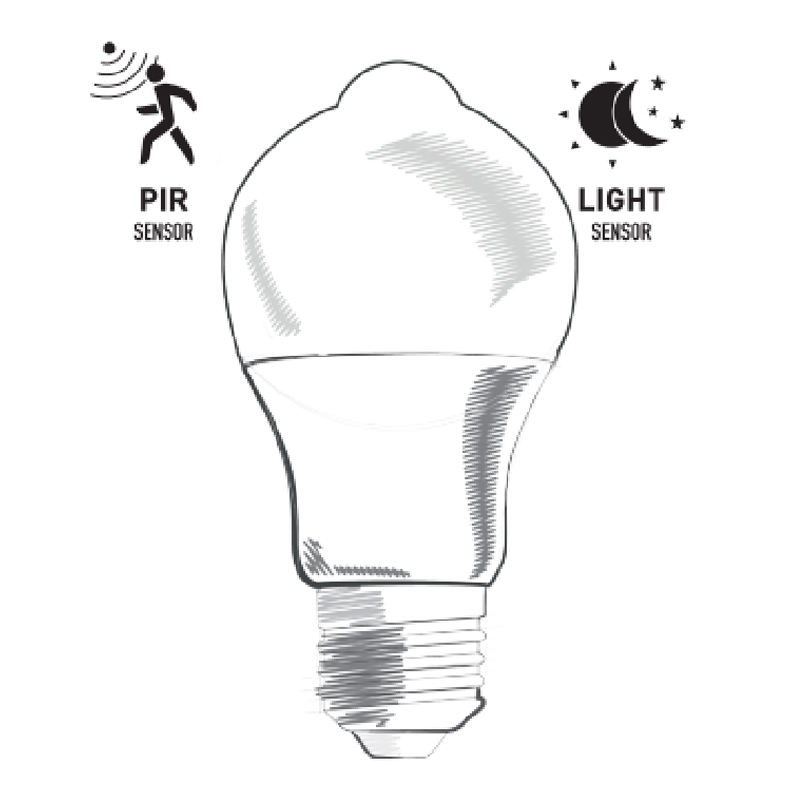
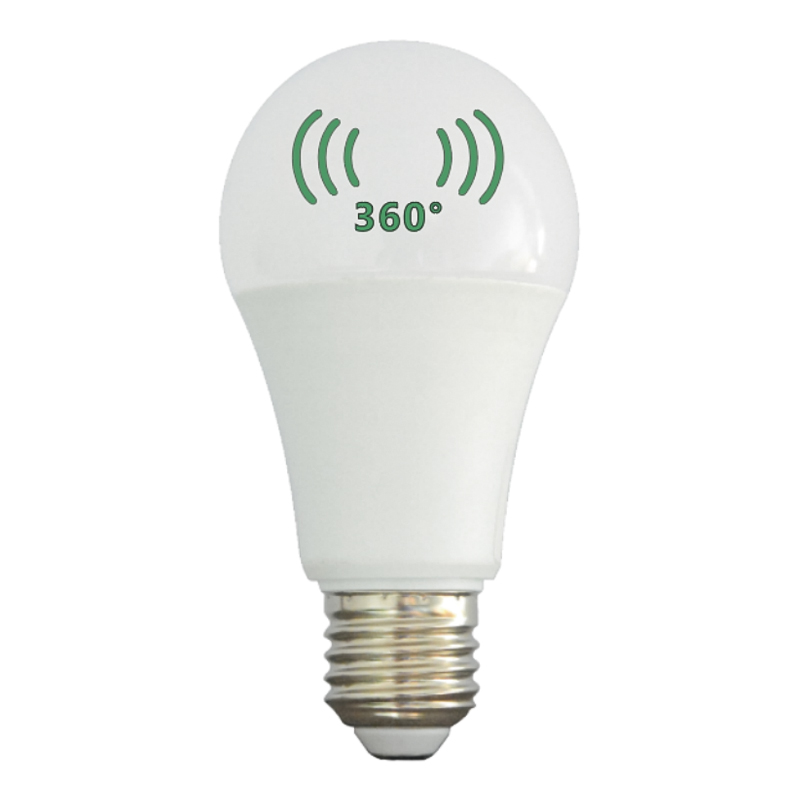
Motion-sensor LED ceiling lights are particularly practical in hallways and landings — they provide instant illumination without requiring a wall switch and can reduce energy consumption by 60–80% compared to manually switched lights that are frequently left on.
Children's Room
Children's rooms benefit from a dimmable ceiling light with a warm white color temperature (2700K–3000K) and sufficient output for both play activities and homework. A ceiling light producing 1,500–2,500 lm with dimming capability covers the full range from bright playtime lighting to low-level nighttime comfort lighting. Avoid fixtures with exposed bulbs or glass shades at low heights — enclosed flush mounts with diffuser panels are the safest option in children's spaces.
How to Install an LED Ceiling Light: Step-by-Step
This guide covers the standard replacement of an existing ceiling light with a new LED flush mount or semi-flush fixture. If you are installing a new ceiling light where no fixture currently exists, this involves new wiring and must be carried out by a qualified electrician in most countries.
Tools and Materials Needed
- Non-contact voltage tester
- Flathead and Phillips screwdrivers
- Wire strippers (if new connections are needed)
- Electrical tape or terminal connectors
- Step ladder appropriate for ceiling height
- The new LED ceiling light fixture and any included mounting hardware
- Turn off the circuit breaker for the lighting circuit — not just the wall switch. Ceiling lights remain live at the switch terminal even when switched off. Confirm power is off using a non-contact voltage tester before touching any wiring.
- Remove the existing fixture. Most ceiling lights are held by a central nut on the mounting bracket or by screws through the canopy into a ceiling rose. Unscrew the canopy or cover plate to expose the wiring. Support the fixture with one hand while unscrewing.
- Photograph the existing wiring connections before disconnecting anything. Note which wire connects to Live (brown in UK/EU; black or red in older installations), Neutral (blue in UK/EU; white in US), and Earth (green/yellow stripe; bare copper in older wiring).
- Disconnect the existing fixture from the wiring. In most ceiling roses, wires connect via push-in or screw terminals. In junction box installations, wires may be connected with wire nuts or connectors that you unscrew or release.
- Attach the new mounting bracket to the ceiling rose or electrical box using the screws provided with the new fixture. Most LED ceiling lights include a universal mounting bracket that fits standard ceiling roses. If the ceiling rose is not present, you will need to mount to a solid joist or use a ceiling anchor rated for the fixture weight.
- Connect the wiring to the new fixture: Live to Live, Neutral to Neutral, Earth to Earth. Use the terminal connectors or wire nuts supplied with the fixture. Ensure each connection is firm — tug each wire gently after connecting to confirm it is seated. Never leave the Earth wire unconnected even if the old fixture did not use it.
- Tuck wiring into the ceiling rose or canopy and secure the fixture to the mounting bracket. Most flush mounts twist and lock; semi-flush mounts typically screw onto a central threaded rod. Ensure the canopy sits flush against the ceiling with no visible gaps.
- Restore power at the circuit breaker and test the fixture at the wall switch. If the fixture has a dimmer, test across the full dimming range. If the light flickers at low settings, check dimmer compatibility — you may need to replace the dimmer switch with an LED-compatible trailing-edge model.
Dimmer Compatibility: Getting It Right Before You Buy
Dimming is one of the most requested features in LED ceiling lights and one of the most common sources of post-installation problems. Not all LED ceiling lights are dimmable, and not all dimmer switches are compatible with LED fixtures.
- Check the fixture first: The product specification must state "dimmable." A non-dimmable LED fixture connected to a dimmer will flicker, buzz, or fail prematurely — even if the dimmer is set to 100%.
- Check the dimmer type: Older leading-edge (TRIAC) dimmers designed for incandescent or halogen loads frequently cause flickering with LED fixtures. Replace with a trailing-edge (ELV) dimmer for smoother, more compatible LED dimming. Trailing-edge dimmers typically cost $20–$60.
- Check the minimum load: Some LED dimmers have a minimum load requirement of 10–25W. If you install a single 12W LED ceiling light on a dimmer rated for a 25W minimum, you may experience flickering even with a compatible LED-rated dimmer. Check the dimmer's minimum load specification against the total LED wattage on the circuit.
- Use the compatibility list: Reputable LED ceiling light manufacturers publish a tested dimmer compatibility list. Always verify your specific dimmer model against this list before purchasing the fixture.
Smart LED Ceiling Lights: Are They Worth It?
Smart LED ceiling lights — controllable via smartphone app, voice assistant, or home automation system — have dropped significantly in price over the past five years. Entry-level smart flush mounts now start at $25–$50, making them a realistic option even for budget installations.
The practical benefits that justify the added cost:
- Tunable white — Shift color temperature between 2700K and 6500K from your phone. Particularly useful in bedrooms (warm evening, cool morning) and home offices (match daylight as it changes).
- Scheduling — Program lights to dim automatically at a set time each evening, eliminating the need to remember to switch off lights and supporting consistent sleep routines.
- No dimmer switch required — Smart LED lights handle dimming internally via the app, eliminating dimmer compatibility issues entirely. The wall switch simply cuts or restores power.
- Scene presets — Save specific brightness and color temperature combinations for different activities (movie mode, reading mode, dinner mode) and switch between them instantly.
The main limitation: smart ceiling lights require a stable Wi-Fi or Zigbee signal at the fixture location, and the controlling app or hub must remain functional. For critical-use rooms like hallways and stairwells, a standard dimmable LED ceiling light with a physical switch is more reliable than a smart fixture that requires a phone or internet connection to operate.
Common Mistakes to Avoid
- Choosing by wattage instead of lumens. Two 18W LED ceiling lights from different manufacturers can produce 1,200 lm and 2,200 lm respectively. Always compare lumen output, not wattage, when evaluating brightness.
- Installing a fixture that is too small for the room. A 25cm flush mount in a 20m² living room will feel inadequate regardless of its lumen output. Match fixture diameter to room scale — a room of 15–20m² generally suits a 40–50cm ceiling light.
- Using a non-IP-rated fixture in a bathroom. A standard indoor LED ceiling light installed above a shower or bath is both a code violation and a safety hazard. Always check IP rating requirements for bathroom zones.
- Relying on a single ceiling light for task-heavy rooms. Kitchens and home offices require supplementary task lighting — under-cabinet lights, desk lamps — regardless of how bright the ceiling light is. A ceiling light provides ambient light, not targeted task light.
- Mixing color temperatures across a connected space. Open-plan kitchen-dining-living areas should use a single consistent color temperature throughout. Mixing 3000K in the kitchen with 2700K in the living area creates a visually fragmented space.
- Skipping the dimmer switch to save money. A non-dimmable ceiling light locks a room into one brightness mode permanently. Dimmable fixtures with compatible dimmer switches typically add $20–$60 to the total installation cost — a worthwhile investment for any room used across different times of day.
